
USA Garage Pros
Garage Door Sensor Repair
Repair, realignment, and replacement of the photo-eye safety sensors that stop a garage door from closing when something is in its path.
Sensor Repair
Garage door sensor repair
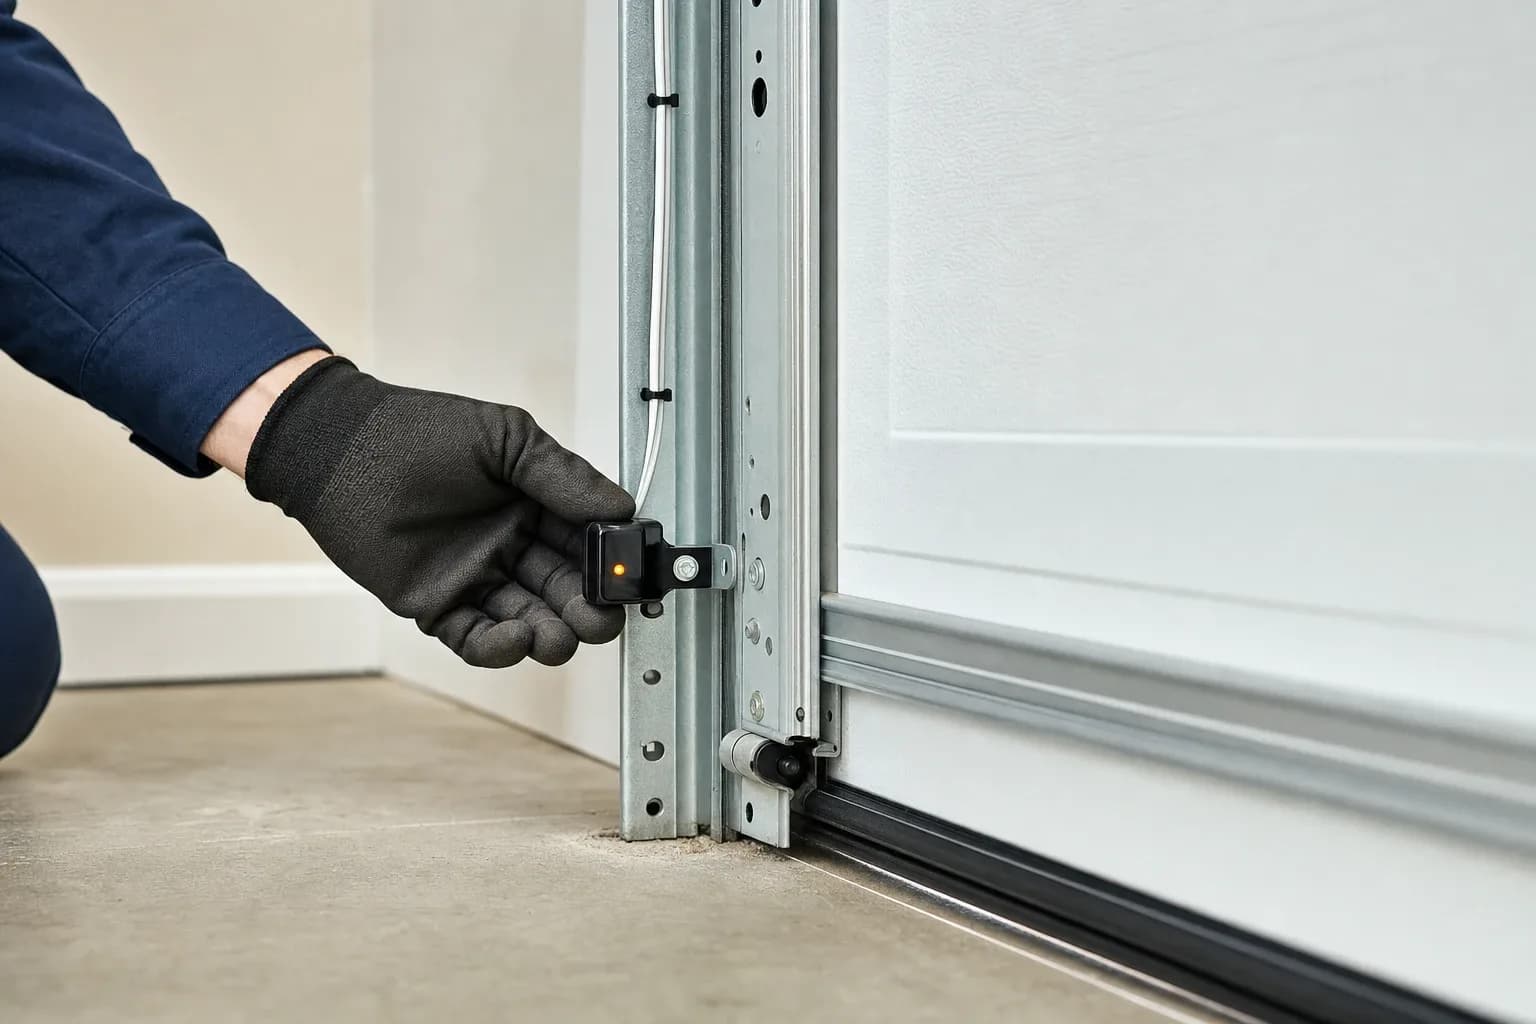
Photo-eye sensors sit near the floor on each side of the door, sending an invisible beam between them. If anything breaks that beam while the door is closing, or if the sensors themselves are misaligned, dirty, or wired incorrectly, the opener stops the door and reverses it as a safety measure, which is exactly what they're designed to do.
A door that won't close, or that closes partway and reverses with nothing in the way, is a common sign of a sensor problem rather than a fault with the door itself. Sensor repair covers cleaning the lenses, realigning the brackets so the beam lines up, and replacing a sensor or its wiring when that's the actual cause.
Know the signs
When you need sensor repair
Common symptoms
- Opener light blinks a set number of times and the door won't close
- Door starts to close, then reverses with nothing visibly in its path
- Indicator LED on one or both sensors is off, dim, or blinking
- Sensor bracket looks bumped, loose, or knocked out of alignment
What the service covers
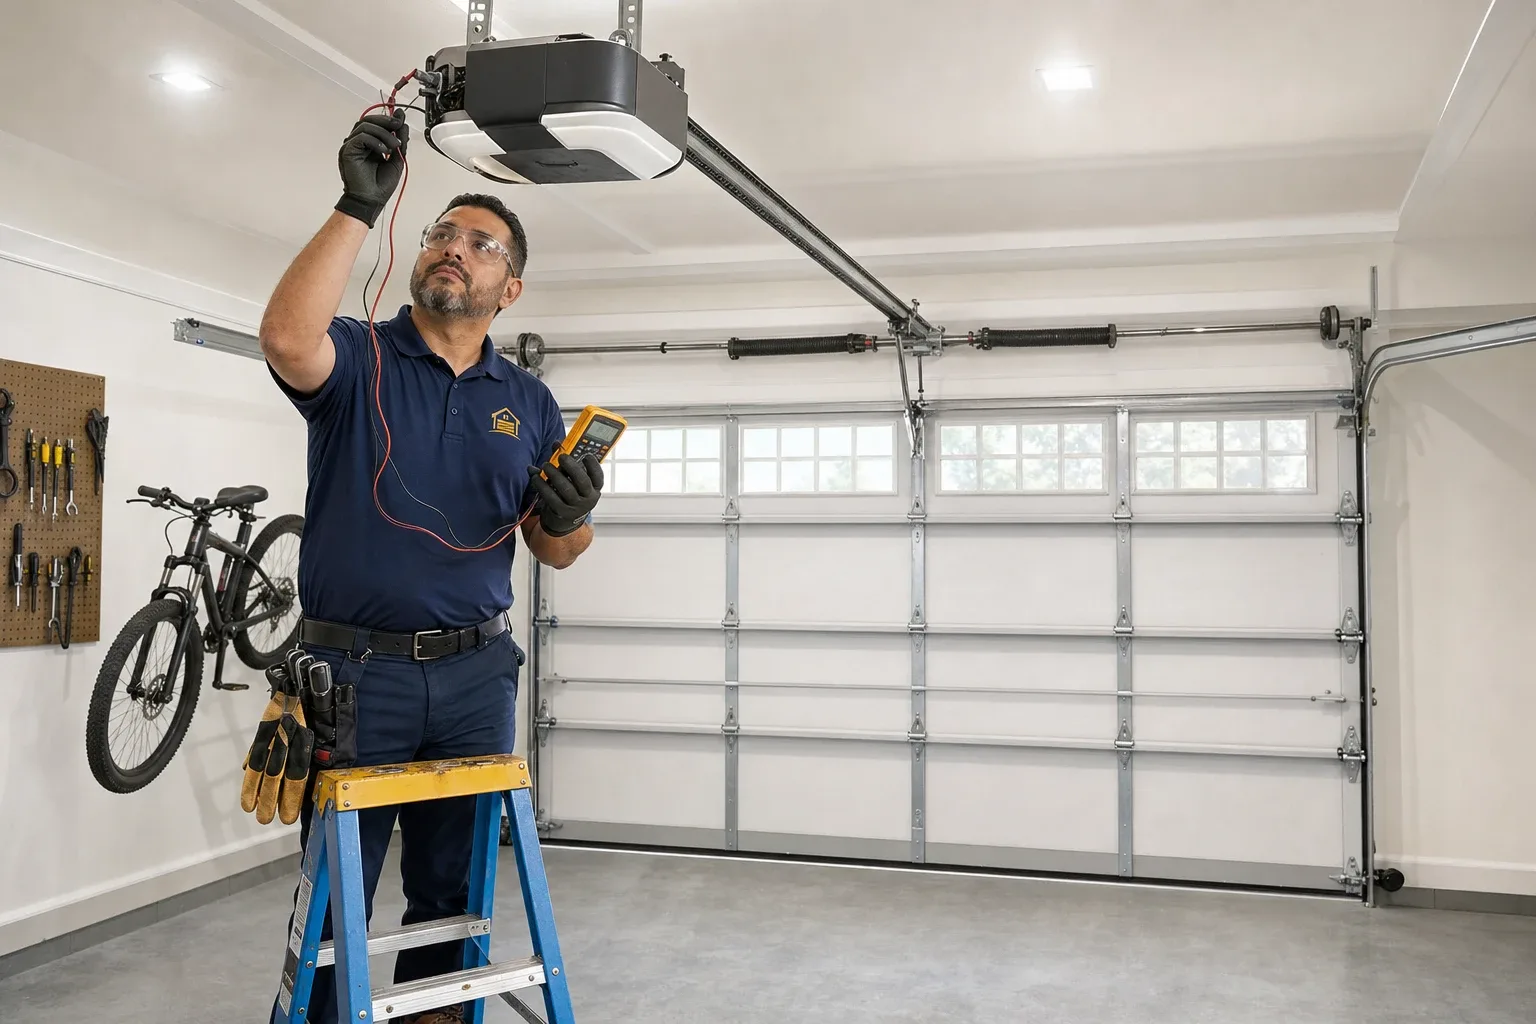
- Inspection of both photo-eye sensors, brackets, and wiring
- Cleaning of sensor lenses and realignment of the brackets
- Testing the beam path for obstructions, glare, or interference
- Replacement of a faulty sensor or damaged wiring where needed
The process
How the work is done
- 1
Check sensor position and indicators
Both sensors are checked for physical position, about 6 inches above the floor, and whether their indicator lights show a clear, aligned beam.
- 2
Clean and realign
Lenses are cleaned of dust or cobwebs and brackets are adjusted so the sensors face each other directly.
- 3
Test for interference
The beam path is checked for obstructions, direct sunlight glare, or wiring issues that can cause a sensor to behave inconsistently.
- 4
Replace if needed
If a sensor or its wiring has actually failed rather than just needing cleaning or alignment, the faulty part is replaced and retested.
Decide
Repair or replace?
| Repair usually makes sense when… | Replacement is worth considering when… |
|---|---|
| The sensor itself is functional and the issue is dirt, misalignment, or a loose bracket | A sensor's indicator light won't come on even when correctly aligned and powered |
| Wiring is intact and just needs reconnecting or resecuring | Wiring is damaged, such as cut, corroded, or chewed, beyond a simple repair |
Cost factors
What affects the price
Prices aren't published because they depend on your door, the parts involved and the access to the work. These are the things that move the cost — ask for the price before any work starts.
- Cause of the fault
- A dirty lens or bumped bracket is quicker to correct than a wiring fault or failed sensor unit.
- Wiring condition
- Sensor wiring run along the floor can be damaged by moisture, pests, or being stepped on, which adds to the repair.
- Sensor compatibility
- A replacement sensor needs to be compatible with the existing opener's wiring and logic board.
- Bracket or mounting damage
- A bracket that's been knocked loose or broken may need to be replaced along with the sensor.
Safety first
- Never disconnect, cover, or bypass a photo-eye sensor to force a door to close — this removes the protection meant to stop the door on an obstruction.
- Disconnect power to the opener before adjusting or cleaning a sensor.
- After any sensor work, test that the door reverses when an object breaks the beam, per the opener manufacturer's guidance.
Safe things to check first
- Look at both sensor units near the floor for a steady indicator light; a blinking or dark light on either one usually means the beam isn't aligned.
- Check whether anything, such as a box, a toy, or leaves, is sitting in the beam path between the two sensors.
- Look at the small brackets holding each sensor for a bump, tilt, or loose mounting screw.
Answers
Frequently asked questions
Why won't my garage door close even though nothing is in the way?
This is a common sign of a photo-eye sensor issue — dirt on the lens, a bracket knocked out of alignment, or a wiring problem can all make the opener think the path is blocked.
Can I clean or realign the sensors myself?
Gently wiping dust off the lenses and checking that nothing is blocking the beam is a reasonable homeowner check; realigning brackets or wiring should be left to a technician if the issue continues.
Is it okay to bypass a sensor if it keeps causing problems?
No — bypassing or disabling a safety sensor removes the protection it provides and isn't a safe workaround.
How is a sensor problem different from an opener problem?
A sensor issue usually shows up as the door refusing to close or reversing partway with nothing in its path, while opener problems more often affect the door's start, speed, or overall movement.
Related
Related services
USA Garage Pros
Request service
Send the details in two quick steps. This isn't a booking — we contact you to confirm the problem, the timing and the location first.
Sources
- Automatic Residential Garage Door Operators — U.S. Consumer Product Safety Commission (accessed 2026-09-24)
- UL 325 50th Anniversary & Key Safety Issues — UL Solutions (accessed 2026-09-24)